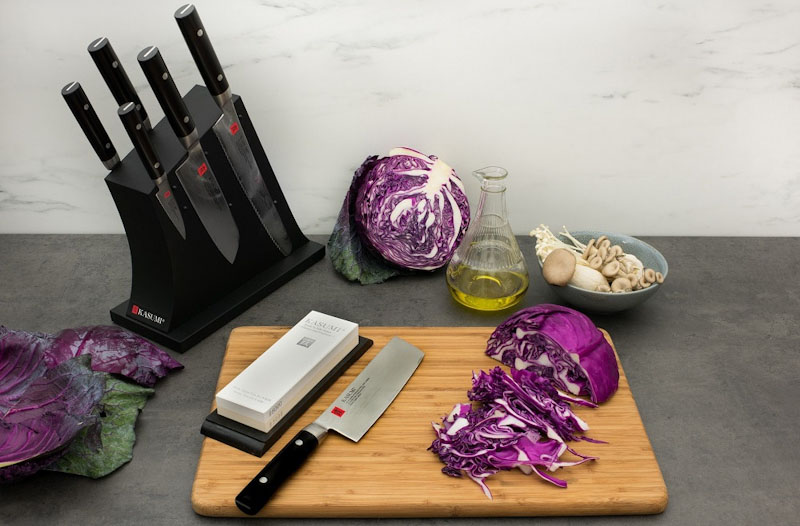
Get to Know Your Whetstone
While it is tempting to take your knives to a pro just to get it sharpened, getting it done yourself is also highly recommended. It truly is a great skill to acquire especially when you can apply it at home.
That said the very first time you do it, or the first dozen times you do it — can be rather intimidating. But that’s where regular practice comes into play to perfect your skills.
Before we get started on learning and watching the video below, let us find out the type of grit range you need for your Whetstone. Different grit profile serves different sharpening tasks.
Choosing Your Ideal Whetstone
Coarse Stone with grit range less than #1000
Primarily suitable for knives that have damaged blades. This means if you have blades that have nicks and chips, this grit range will help to get rid of them in no time. Our Kasumi Combination Ceramic Whetstone 400/1000 is brilliant for extremely dull knives. However, due to its abrasiveness, we don't recommend using it for general use because they only leave you with a medium finish.
Medium Stones with grit range #1000 to #3000
Ideally, the #1000 should be your basic sharpening stone. Say if your knife lost its edge, and needs a good sharpening, this is the grit range you can get started with. Despite that, it shouldn't be used often as it can wear your knife down faster.
However, the #2000 to #3000 can be used a lot more if you are someone who prefers sharpening your knife regularly. It's ok to do so as they are less coarse. But bear in mind that the grit range is meant for sharpening and not maintenance of your edge.
Kasumi Marble Whetstone 2000 Fine and Kasumi Marble Whetstone 1200 Medium are good choices.Finishing Stones with grit range #4000 to #8000
The #4000 and #5000 are like a bridge between sharpening and superfine finishing stones, the latter providing you with a super refined edge like this Kasumi Combination Ceramic Whetstone 5000/10000
Nonetheless, you can still use it as finishing stones. Although, with Western knives, that typically have cutting edges with a "U" shape instead of a "V" shaped edge, a #5000 grit is usually good enough.
Watch Now: How to Use a Whetstone to Sharpen your Knives
Quick Steps to Sharpen Your Knives
1. Setup your stone before sharpening
Soak your whetstone in water for about 10-15 minutes or until the bubbles have stopped. Running it under water will help to reduce friction. If you don’t, the friction can cause your blade to heat up and eventually risk damaging it.
2. Set your stone on a non-slip holder.
After soaking the whetstone in the water, place the whetstone on a non-slip holder to hold the stone from moving whilst sharpening.
Important note: Be sure that the stone stays completely flat before you start sharpening. You can use a straightening or a flattening stone.
Tip: Use a pencil to draw square grids on the whetstone. Once all pencil markings have been completely removed you are ready to start sharpening.
3. Get your angle right
Hold the knife in your right hand with the blade facing away from you. Then set the heel of the knife on the upper-left corner of the stone and tilt the blade to at least a 15 - 20-degree angle to the stone. Note: Depending on your knife, you may have to sharpen the blade tip separately from its body.4. Continue sharpening until you get a burr
While maintaining the angle, pull the blade toward you and across the stone and continue sharpening until the burr is felt from the heel to the tip of the knife. You can rest the fingers of the other hand on the flat side of the blade to help guide it. Make sure you feel the burr using your thumb. It should feel rough.
5. Repeat the process
Once you have a burr on the entire length of the blade, repeat the same motion with an even number of times on each side.
Dampen the whetstone as you run your blade through the motion to avoid the whetstone from drying. Repeat the same process four to five times until the burr is gone from each side.
That said, stones require patience to learn and the skills to use. With practice over time, it will be well worth your time and money. If you would like to try Kasumi knives, click below to browse through our wide selection.

