How to Make Butter in the Comforts of Your Home
Now that we’re all homebound due to social distancing, we’ve had some extra time to try out recipes that we have set aside due to our previously busy lifestyle. One of the recipes that we were very excited to try is how to churn our very own butter. While we usually make a quick trip to the grocers to replenish our butter supply, COVID-19 has made us reluctant to leave home for the safety of our family and ourselves.
And with that, we’ve decided to try churning our own butter with the Kilner Butter Churner and Kilner Butter Paddles! Churning your own butter is a great way to experience how butter is made while keeping up productivity at home. It’s a simple activity that is fun for the kids and yourself too. One not-so-secret plus point is that you’ll also end up having a jar of fresh buttermilk on the side for fluffy pancakes, scones, and more.
So let’s get started on how to make butter!
Ingredients:
- 300ml of fresh whipping, heavy or double cream
- Pinch of salt (if you’re a fan of salted butter)
Instructions:
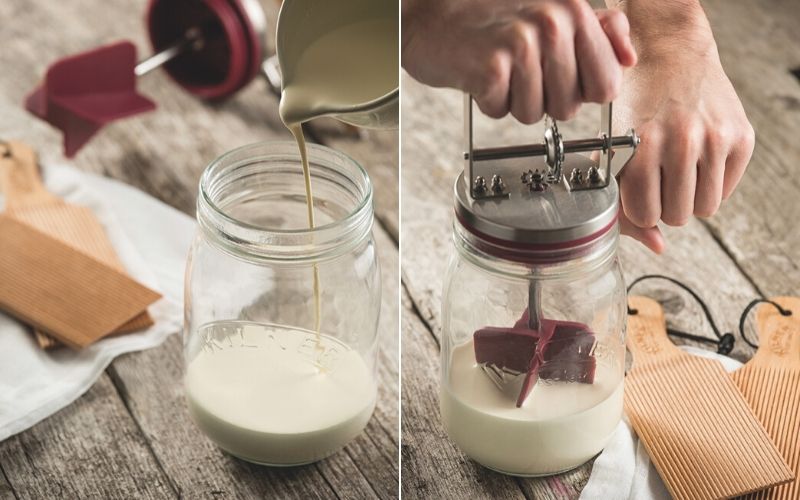
- Remove your cream from the refrigerator and let it stand for 2 hours at room temperature. Cream at room temperature churns easier and faster.
- Pour the cream into the Kilner Butter Churner glass and seal it with the lid. Turn the handle to start churning away.
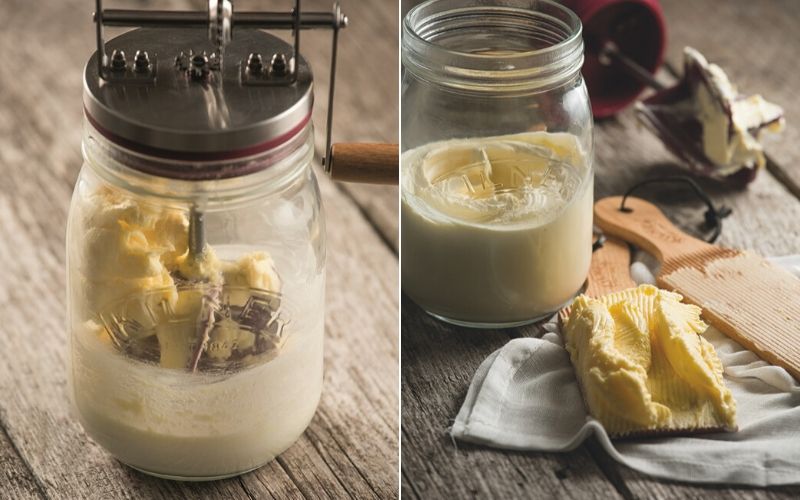
- After a couple of minutes, the cream will turn foamy. 5-6 minutes onwards the cream will thicken. After 8-10 minutes the cream will become very thick, which means that you’re almost there.
- Once you’ve churned the cream for 10-12 minutes, the handle will be harder to turn. It will then loosen and become more relaxed as the cream would have turned pale yellow and separated to form butter and buttermilk.
- Remove the lid and carefully pour the buttermilk into another jar or glass. The buttermilk can be used to make pancakes, waffles, scones, and more.
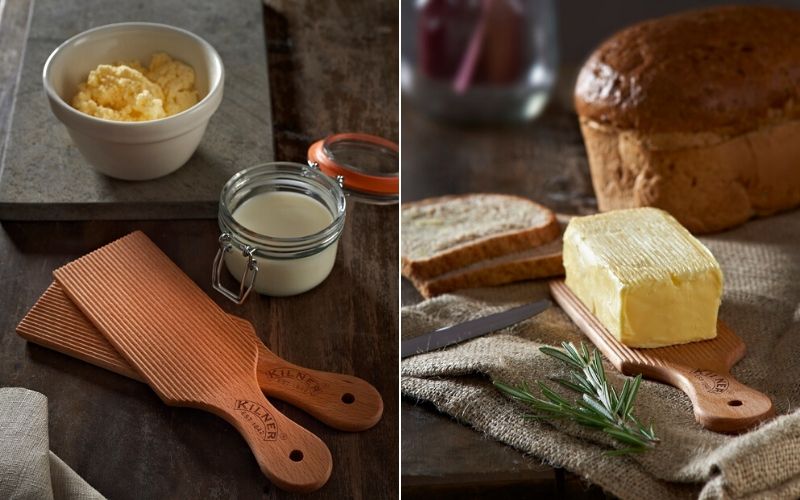
- Pour the butter into a mixing bowl and pour cold water on top. Add ice to the water to help the rinsing process. Gently massage the butter and squeeze to remove the buttermilk. Repeat twice.
- If you want salted butter, here’s the time to sprinkle a pinch of sea salt over the butter and mix using the butter paddles. Taste to ensure you are happy with the flavouring then continue to use the butter paddles to mould into a square shape.
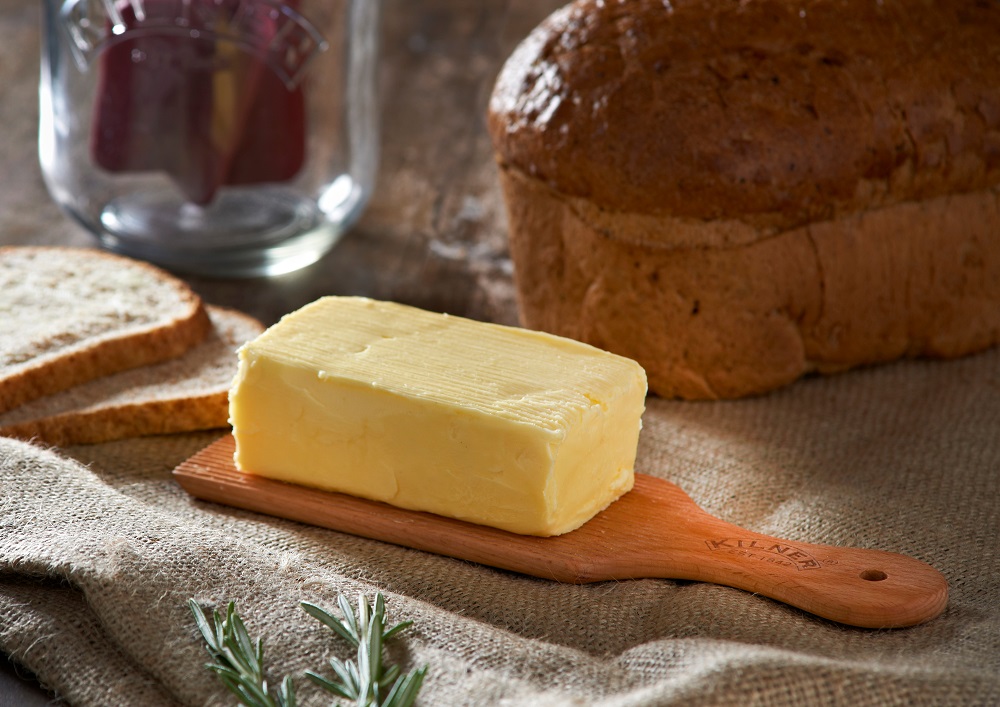
- Once the butter has been moulded to a square, cover with waxed paper or store in a butter dish. Store in the refrigerator and consume within 2 weeks.