A Festive Gluten-Free Shortbread Cookie Recipe Perfect for the Whole Family
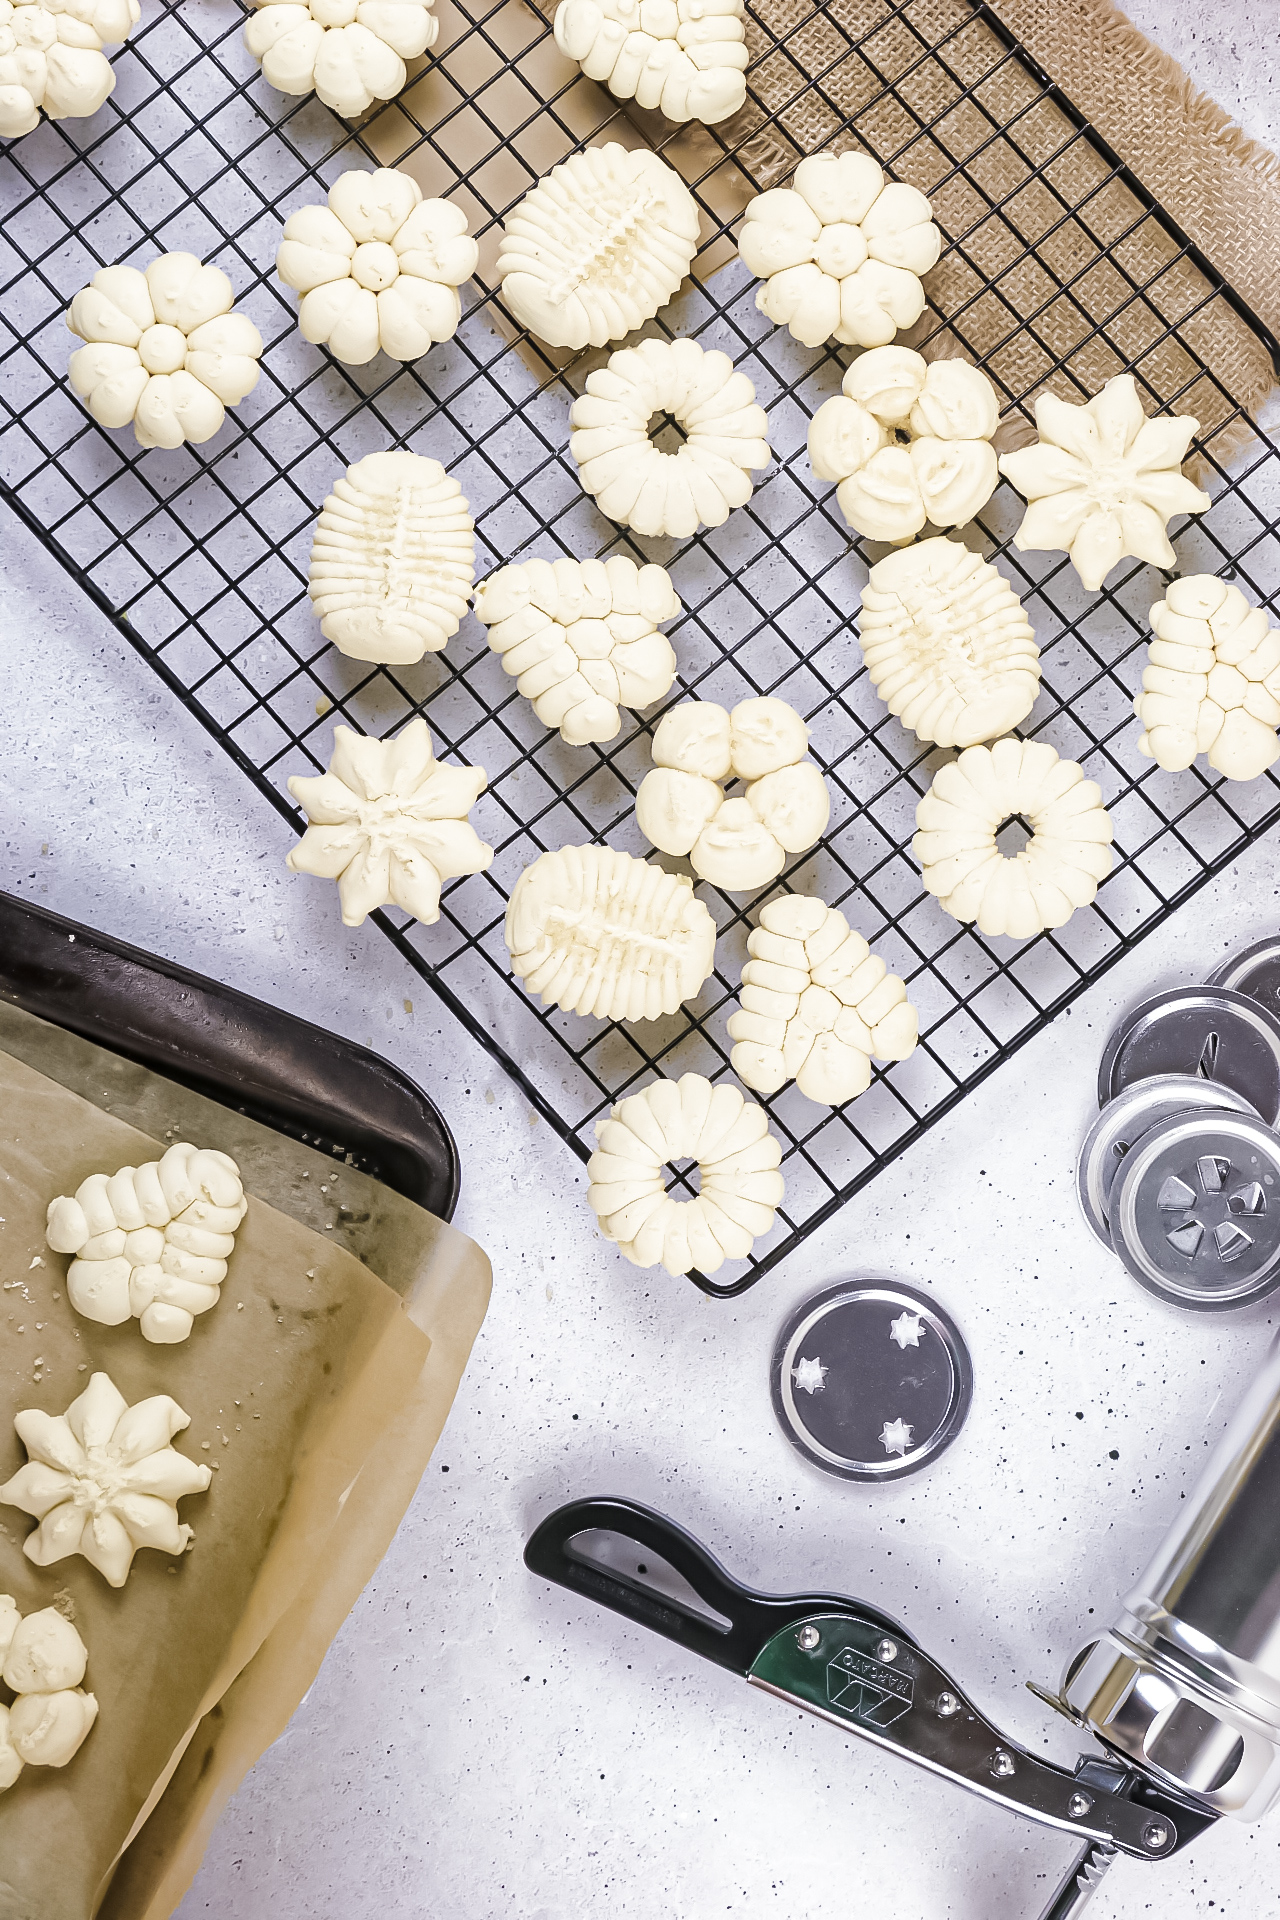
With its sleek Italian design and easy functionality, the Marcato cookie press is a must-have for any home cook. Every cookie pressed out offers a satisfying feeling with the release of the lever and the visual of guaranteed consistency. The Marcato cookie press also leaves you spoilt for choice with 20 different biscuit shape designs to choose from, each crafted with individuality to suit any season. There are two biscuit size options to choose from. With one small click, you are easily able to manoeuvre the device to position 1 for small biscuits and position 2 for large.
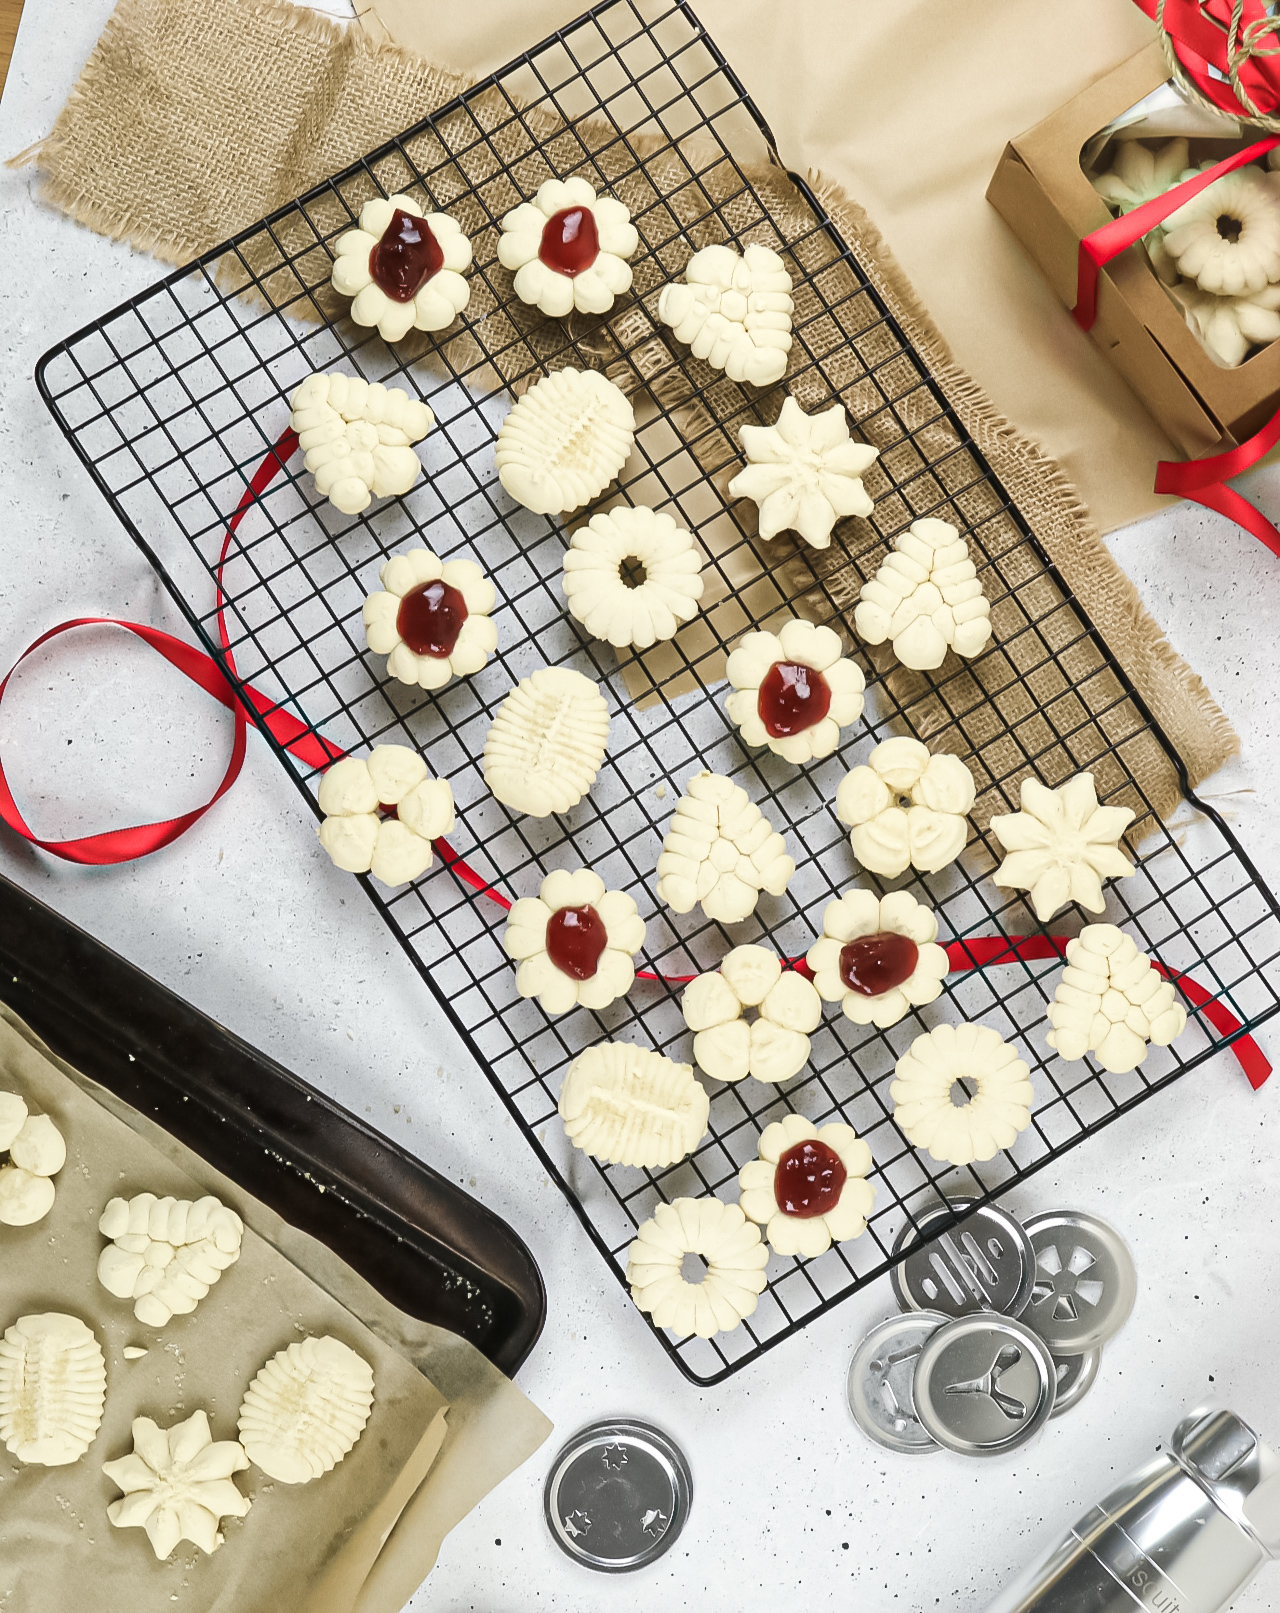
In preparation to bake, it is recommended to press the cookies out straight onto the tray as the baking paper will stick to the dough. I used a silicone baking mat with much success. Either way, due to the high butter content in this recipe cookies are very easily removable.
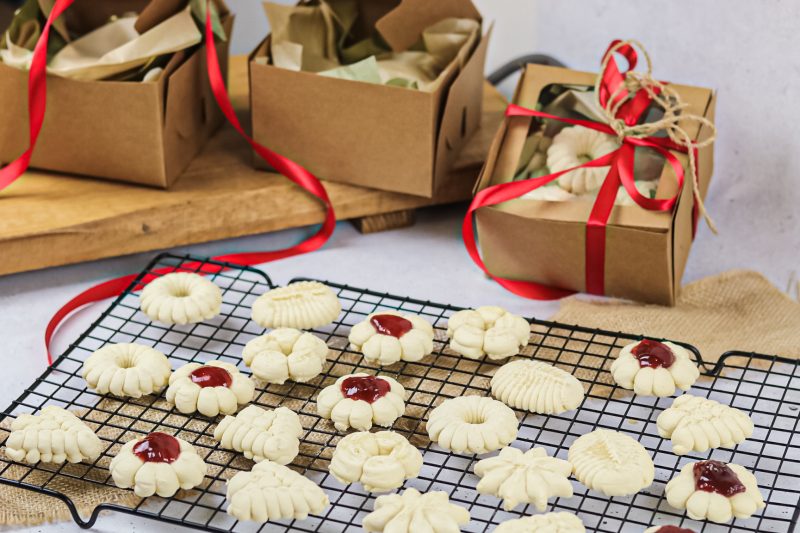
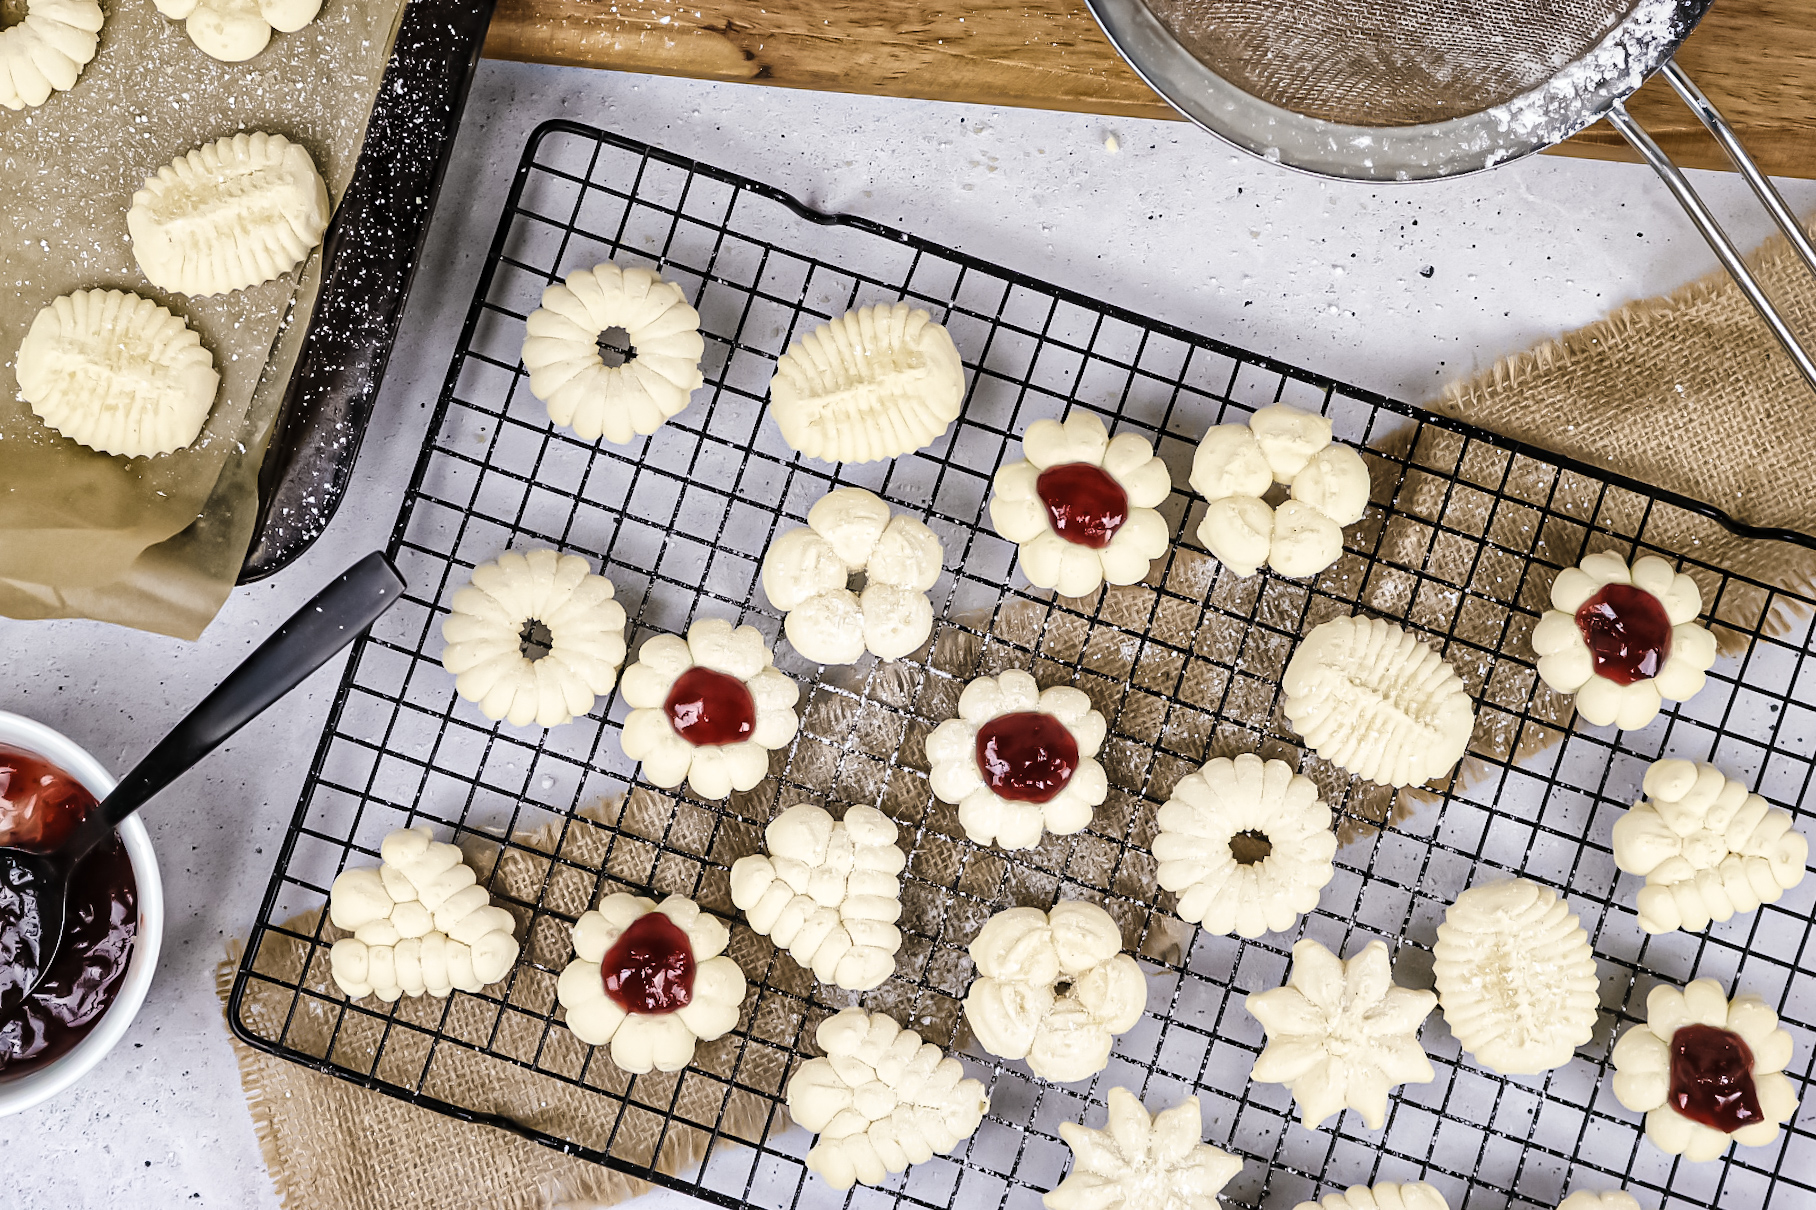
Try sprinkling your gluten-free cookies with sugar granules before you bake for aesthetics. Or once your biscuits have cooled there are many other ways to decorate them! Add jam to the centre for the nostalgic feel and flavour of the classic jam drop – my personal favourite for Christmas! Combine Icing sugar with a small amount of boiling water and paint the cookies to be glossy and sweet. Try adding some citrus rind for an extra flavour burst. Or simply dust with icing sugar for a rustic, homely feel.
Ingredients:
- 1 ½ cups rice flour
- ½ cup tapioca starch
- ½ cup potato starch
- ½ cup of raw sugar
- 1 tsp baking powder
- ¼ tsp salt
- 80gms unsalted butter (softened)
- 2 eggs (room temp)
- 1 tsp vanilla extract
Method
- Sift the rice flour, tapioca starch, potato starch, baking powder and salt together into a bowl
- Using a stand mixer with a paddle attachment cream the butter, sugar and vanilla together on a high speed until light and fluffy
- Keep the mixer going with a reduced speed and add in the eggs one at a time
- Next, slowly incorporate the dry ingredients continuing to mix until a dough ball is formed – do not overmix
- Unscrew the top lock in ring and lift the piston, fill the cylinder with dough and secure lock in ring
- Unscrew the bottom and attach desired cookie ring shape into the lock in ring also, then securing onto the cylinder
- Push the lever down until the dough is coming out of the device easily
- Press out dough onto baking tray one biscuit after the next, repeating steps 5 and 6 to refill dough
- Bake in the oven on the middle shelf at 150°C for 15 minutes.
- Allow to cool and harden before decorating!
- Any excess dough will freeze well until next use