The only apple pie recipe you'll ever need!
I grew up watching my Mom and Granny cook with cast iron, so using this beautiful Lodge cast iron skillet to make an apple pie from scratch felt kind of like being in a dream of childhood memories.
A Southern US kitchen is not complete without a cast iron skillet, and Lodge is an iconic American brand. These cast iron pans represent the real USA right here: this is Route 66, cornbread and casseroles. Raw cast iron is able to withstand very high temperatures, and the best-cast iron pans have a double spout for pouring and a long, sturdy handle.
Lodge has been around since 1896 with its first foundry located in the Appalachian Mountains in the town of South Pittsburg, Tennessee. It was here that the founder Joseph Lodge began manufacturing his cast iron cookware, the factory surviving two World Wars and even the Great Depression, a true testament to the demand and quality. Today the company is run by Lodge's great grandsons, continuing to evolve their product line and improve their production methods with the foundry still operating in the original location.
Watch how Lodge Cast Iron Cookware is made in their foundry, the same location where the company was foundedOne thing to remember about cooking with cast iron, is that you need to ‘season’ the pan. This develops its own glossy, non-stick coating and gets better with each use. In fact, the properties in the cast iron along with regular ‘seasoning’ are known to make food taste better. Without being seasoned from time to time, the pan could start to rust. Growing up, I noticed in my family they did this after each use. That is probably why my mom is still using the cast iron pan her mother had used. Sturdy, durable and versatile - with the right care, a quality cast iron pan will last you a lifetime.
How to Season a Cast Iron Pan:
- Hand wash the pan in warm, soapy water. We recommend a soft coconut bristle brush like this White Magic coconut dish brush
- Dry the pan with a clean tea towel

- Using some cooking oil, or the Lodge Seasoning Spray, rub the pan all over with a paper towel. Your cast iron pan is now ready to be used!


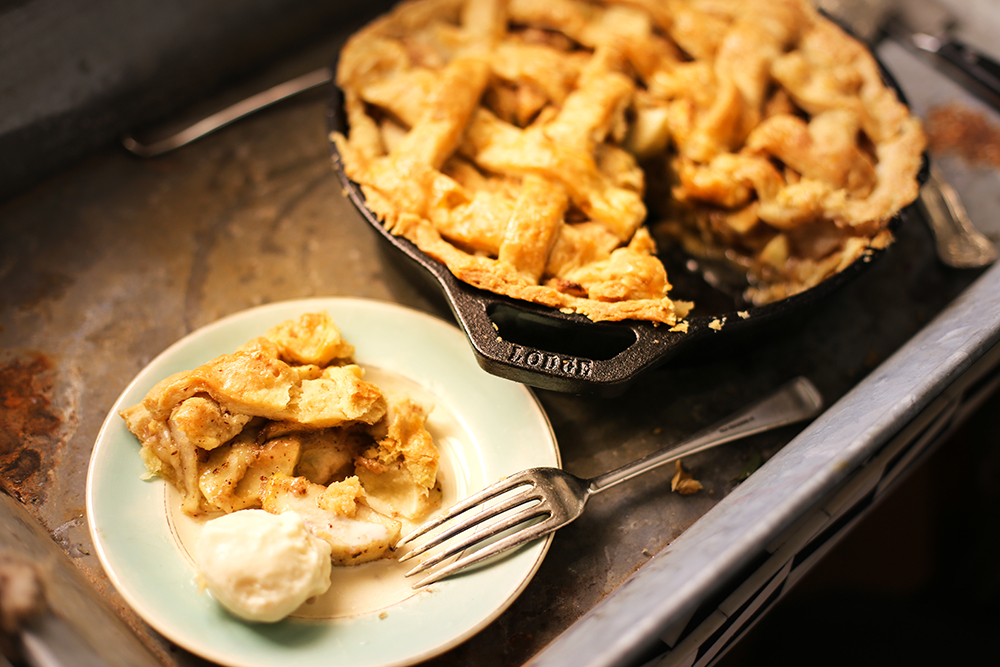
Why would you cook a pie in a cast iron skillet? Back in the old days, it was probably because you couldn’t afford fancy things like pie dishes. But now, it is because it looks retro and cool, and makes you want to put curlers in your hair and wear a pinafore. Did I mention that I actually won an apple pie competition with this recipe? I have not changed the recipe at all – I checked my notes and followed what I did for the competition. So here you are, an award-winning apple pie.
Skillet Apple Pie - From Scratch with Lattice Pastry

Making pastry from scratch is easier than you think, and is absolutely the show stopper element in a great pie. Eat this and be transformed to a time when ingredients were simpler and everything was homemade. Buttery, flaky and tender pie crust with a cinnamon apple filling. Serve warm and ala mode with vanilla ice cream for the ultimate apple pie experience.
Serves: 6-8 | Prep time: 2 hrs Ingredients: Pastry:- 1 cup plain white flour
- 1 cup salted butter
- 1 cup vegetable lard
- 1 tsp baking powder
- pinch salt
- ½ cup ice water
- 1 Tbsp apricot or peach jam
- 10-12 Granny Smith Apples
- ¾ cup raw sugar
- 1 Tbsp cinnamon
- 2 Tbsp flour
- Cube the butter and lard and place in the freezer for 30 minutes.
- In a large mixing bowl, add the flour, baking powder and salt.

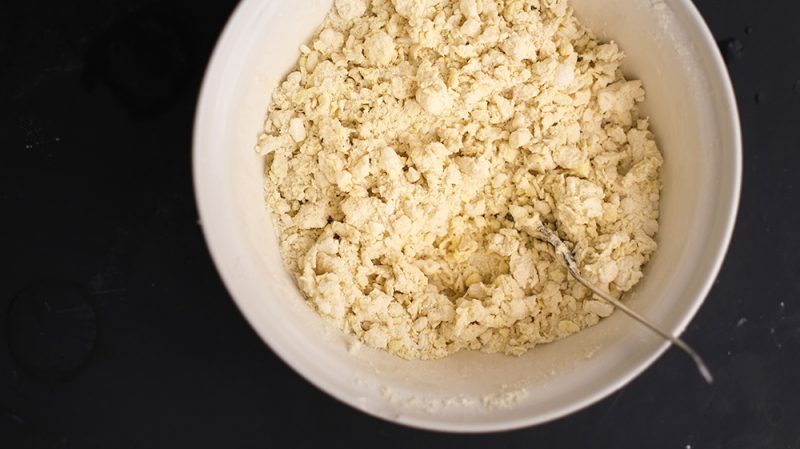
- Using a knife, cut the butter and lard pieces into the flour. Keep going, switching to a fork once the pieces are getting smaller. Stop when the butter and flour is in clumps the size of bread crumbs. (To speed this up, you could use a food processor or stand mixer)
- Add the ice water a tablespoon at a time to bring the mixture together into a ball. Add a little extra water as necessary. Form the dough into two balls, then cover and let sit in the fridge for at least half an hour. (in advance up to 3 days is fine. Pastry can also be frozen.)
- In a bowl, mix together the cinnamon, sugar and flour. Set aside.
- Peel, core and cut the apples into slices. Pour over the cinnamon mix (reserving a tablespoon for the topping) and pour over the apples. Mix to coat.
- Take one pastry dough out of the fridge, and place on a clean, floured surface.
- Use a rolling pin to roll out to about 2cm thickness. Bring the edges together and patch up any holes and keep rolling. Dust with flour as you need.
- Using the rolling pin, roll the pastry into the skillet and press it down into the edges of the pan. Patch any holes.
- Pour the apple pie filling into the pie.

- Roll out the 2nd dough as you did with the first. Make sure to lift with the rolling pin, turn it over to the other side and dust with flour to ensure it doesn’t stick.
- Using a straight edge with a ruler or cutting board, make 1 inch wide cuts along the pastry.
- To make the lattice topping, take the pastry strips one by one and make a row along the pie horizontally. Then go the opposite way, weaving over and under the other row as you go.

- Cut the excess pastry away from the sides and press down all along the edge with your thumbs.
- Melt the apricot jam and brush over the top. Sprinkle over the reserved cinnamon sugar mixture.
- Heat the oven to 350°F/180°C. Bake the pie for 1 hour.
- Enjoy with some vanilla bean ice cream!